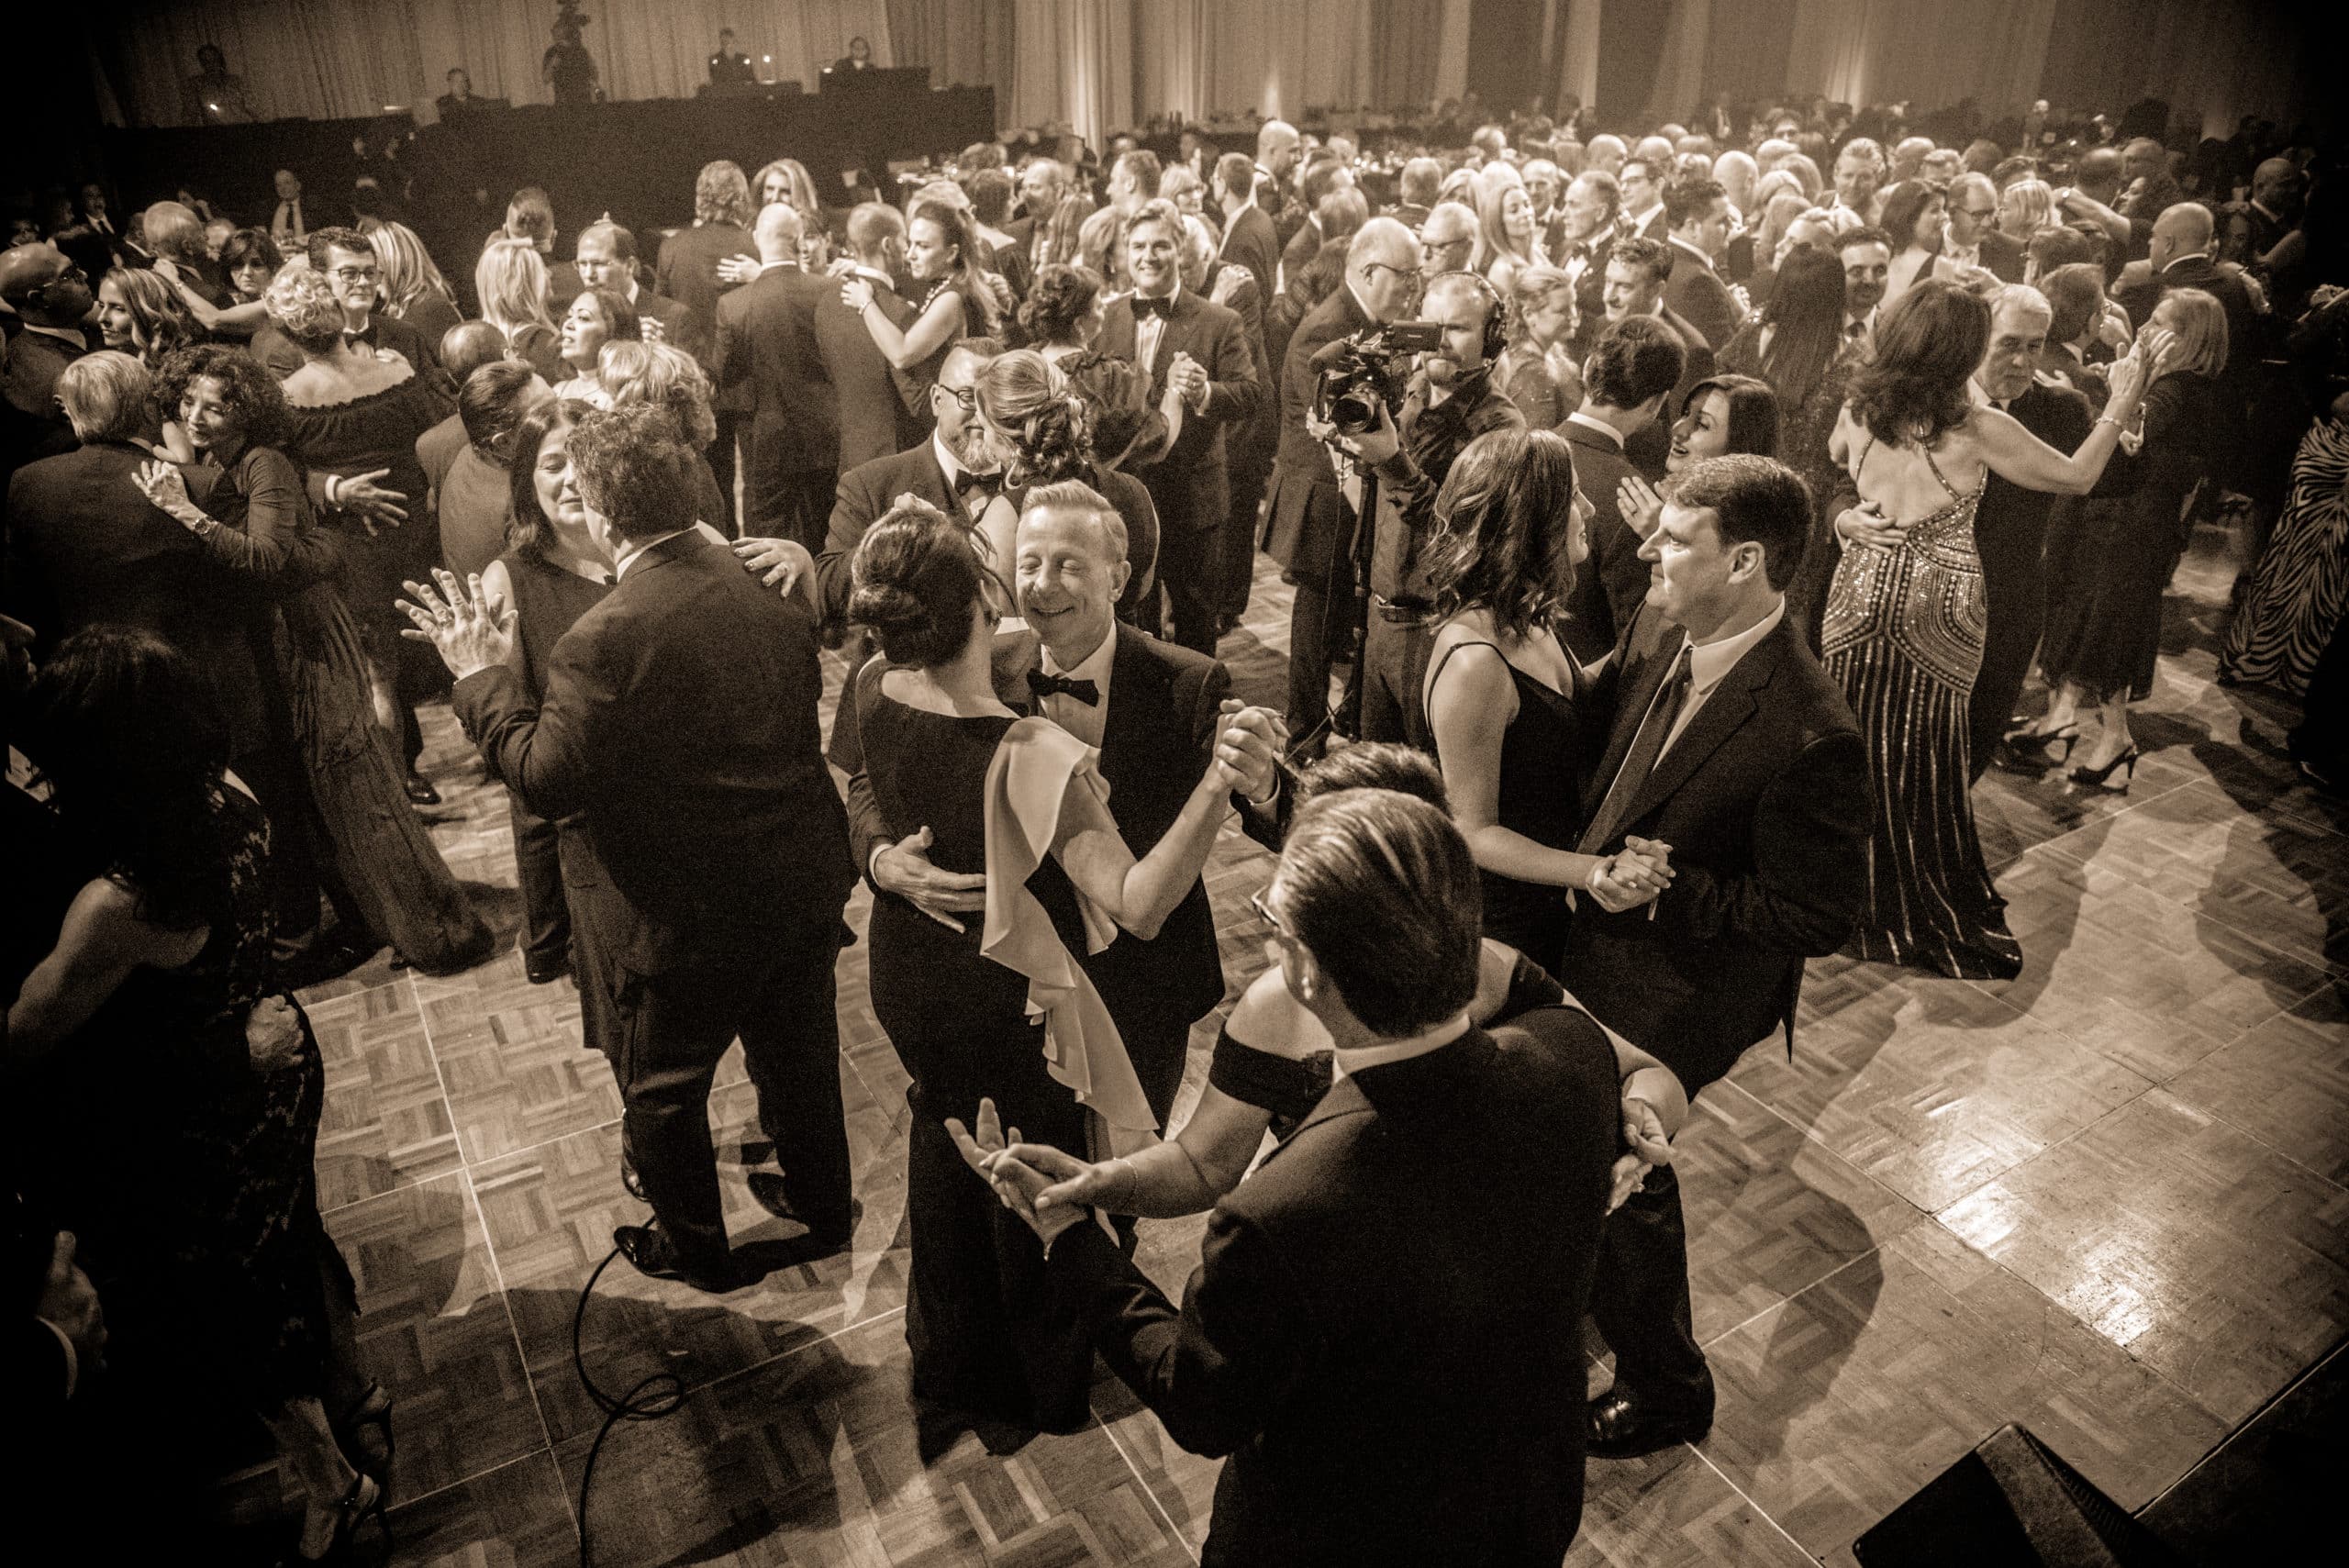
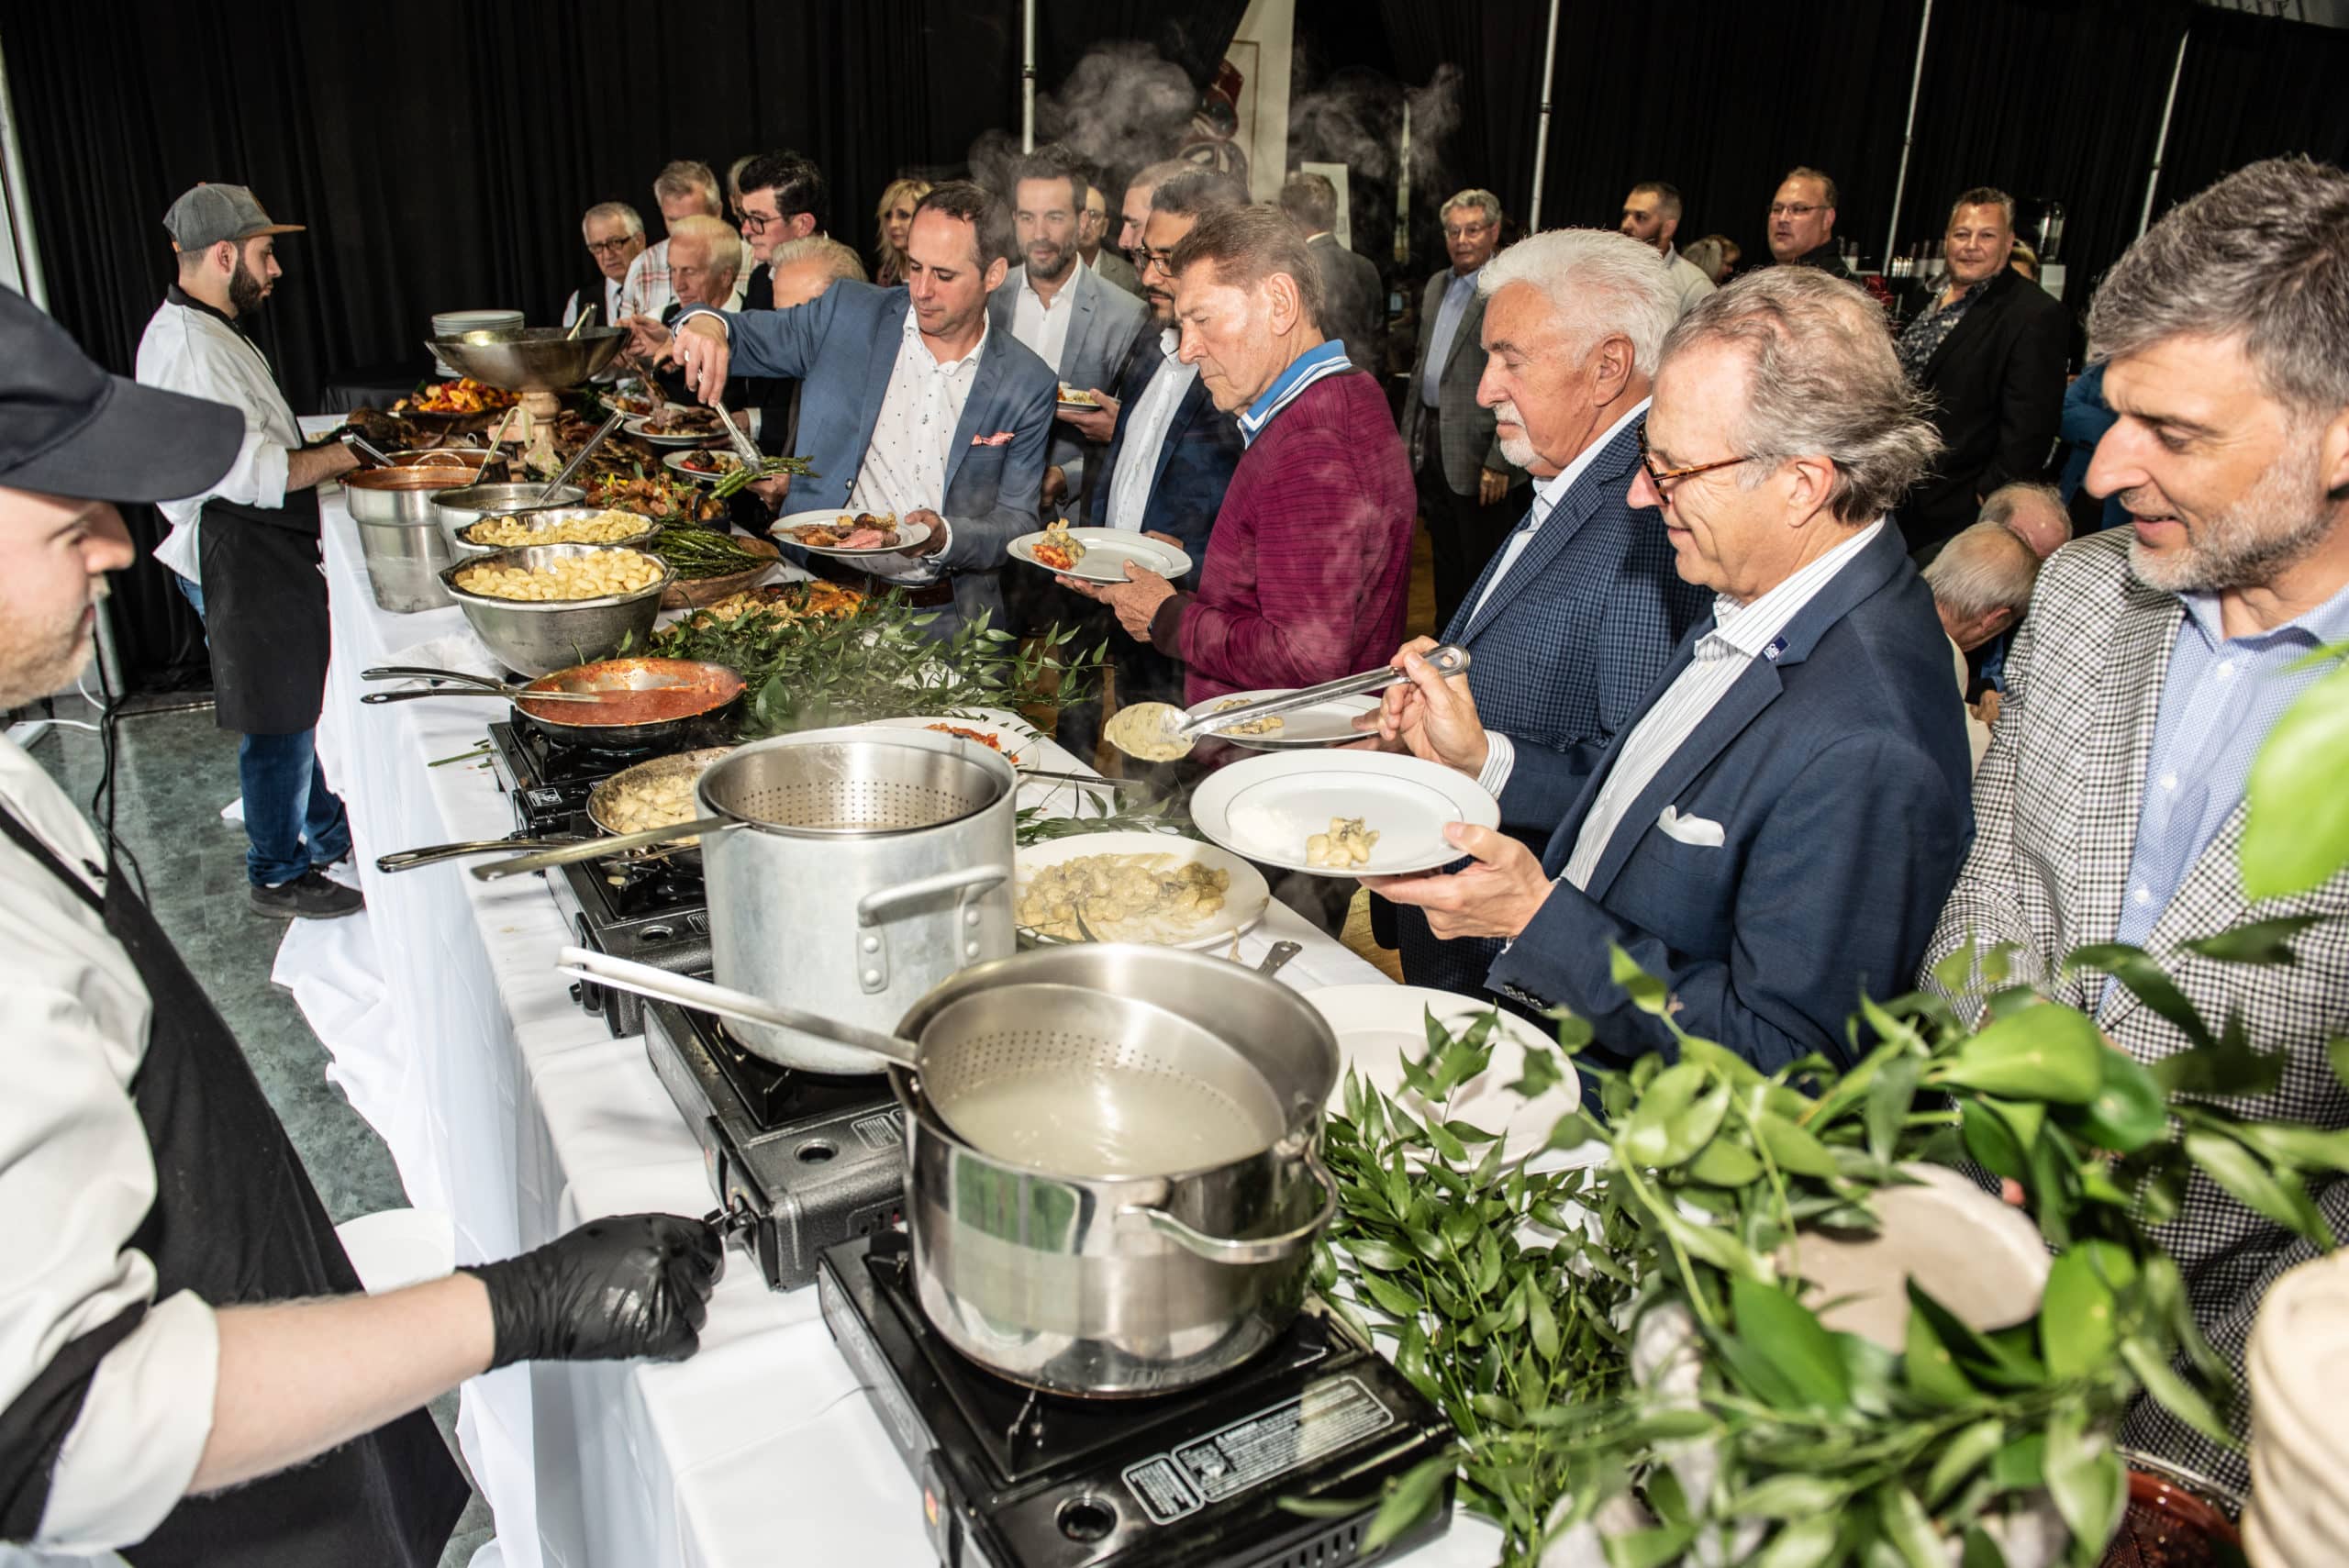
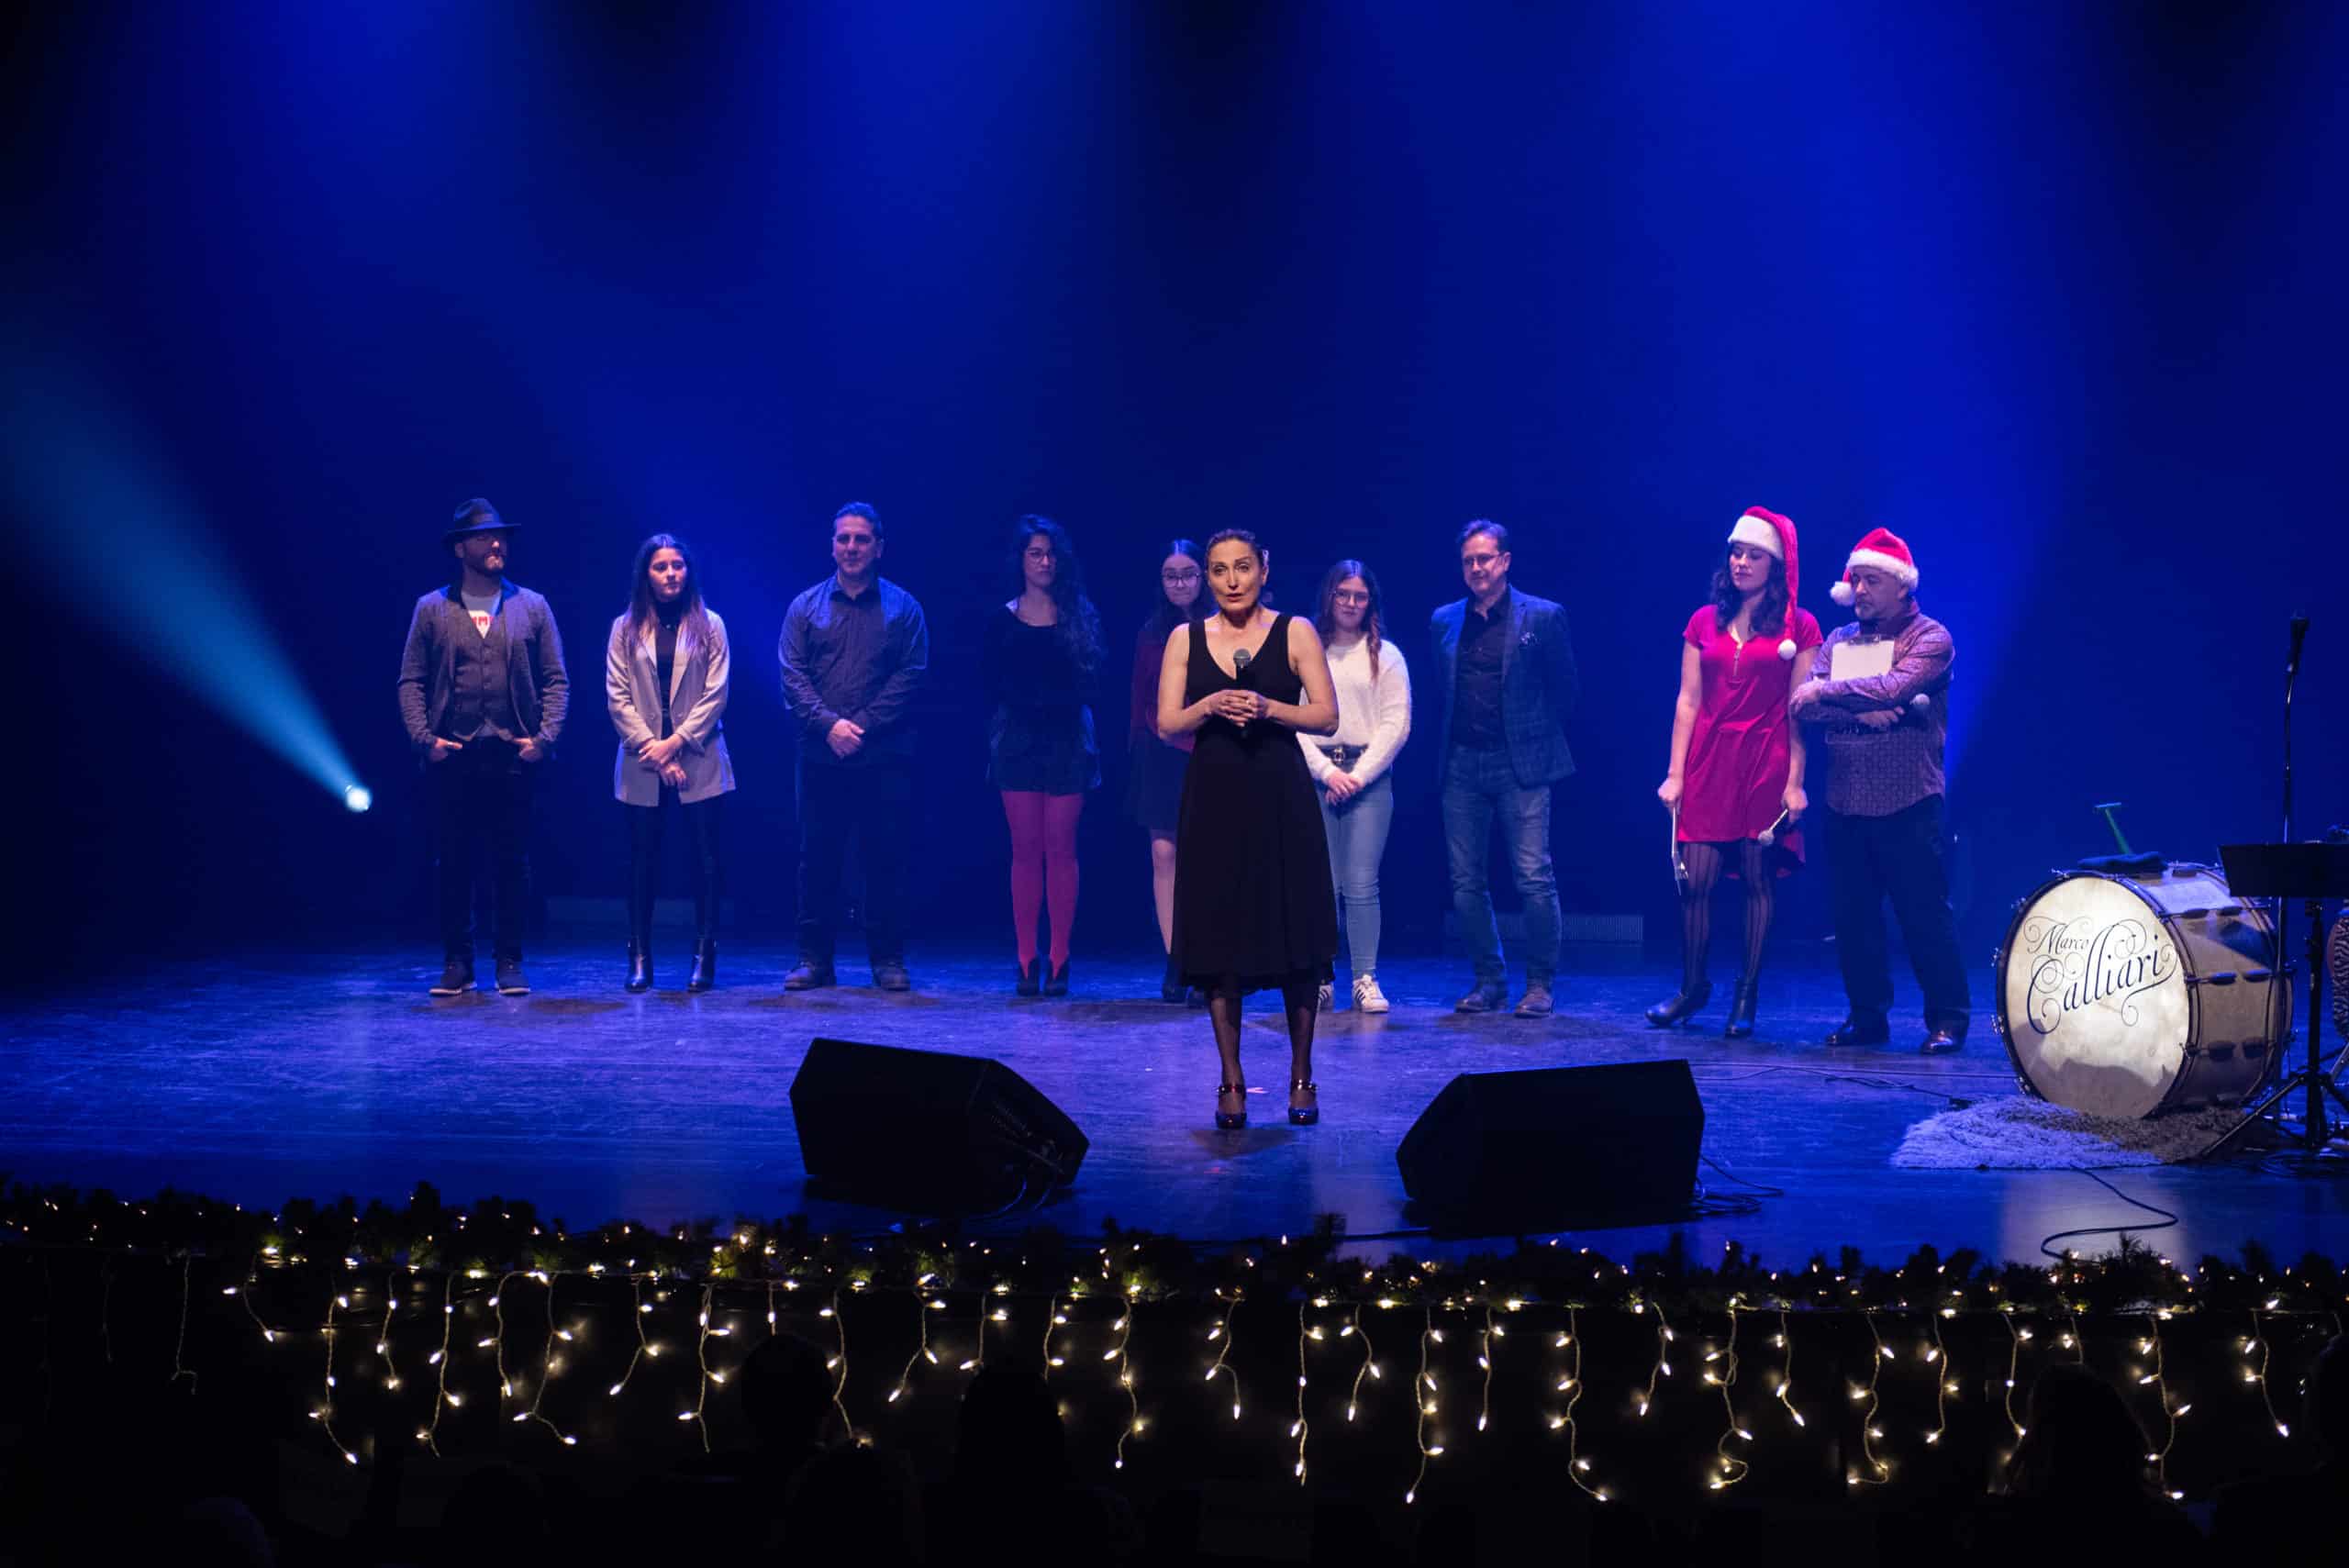
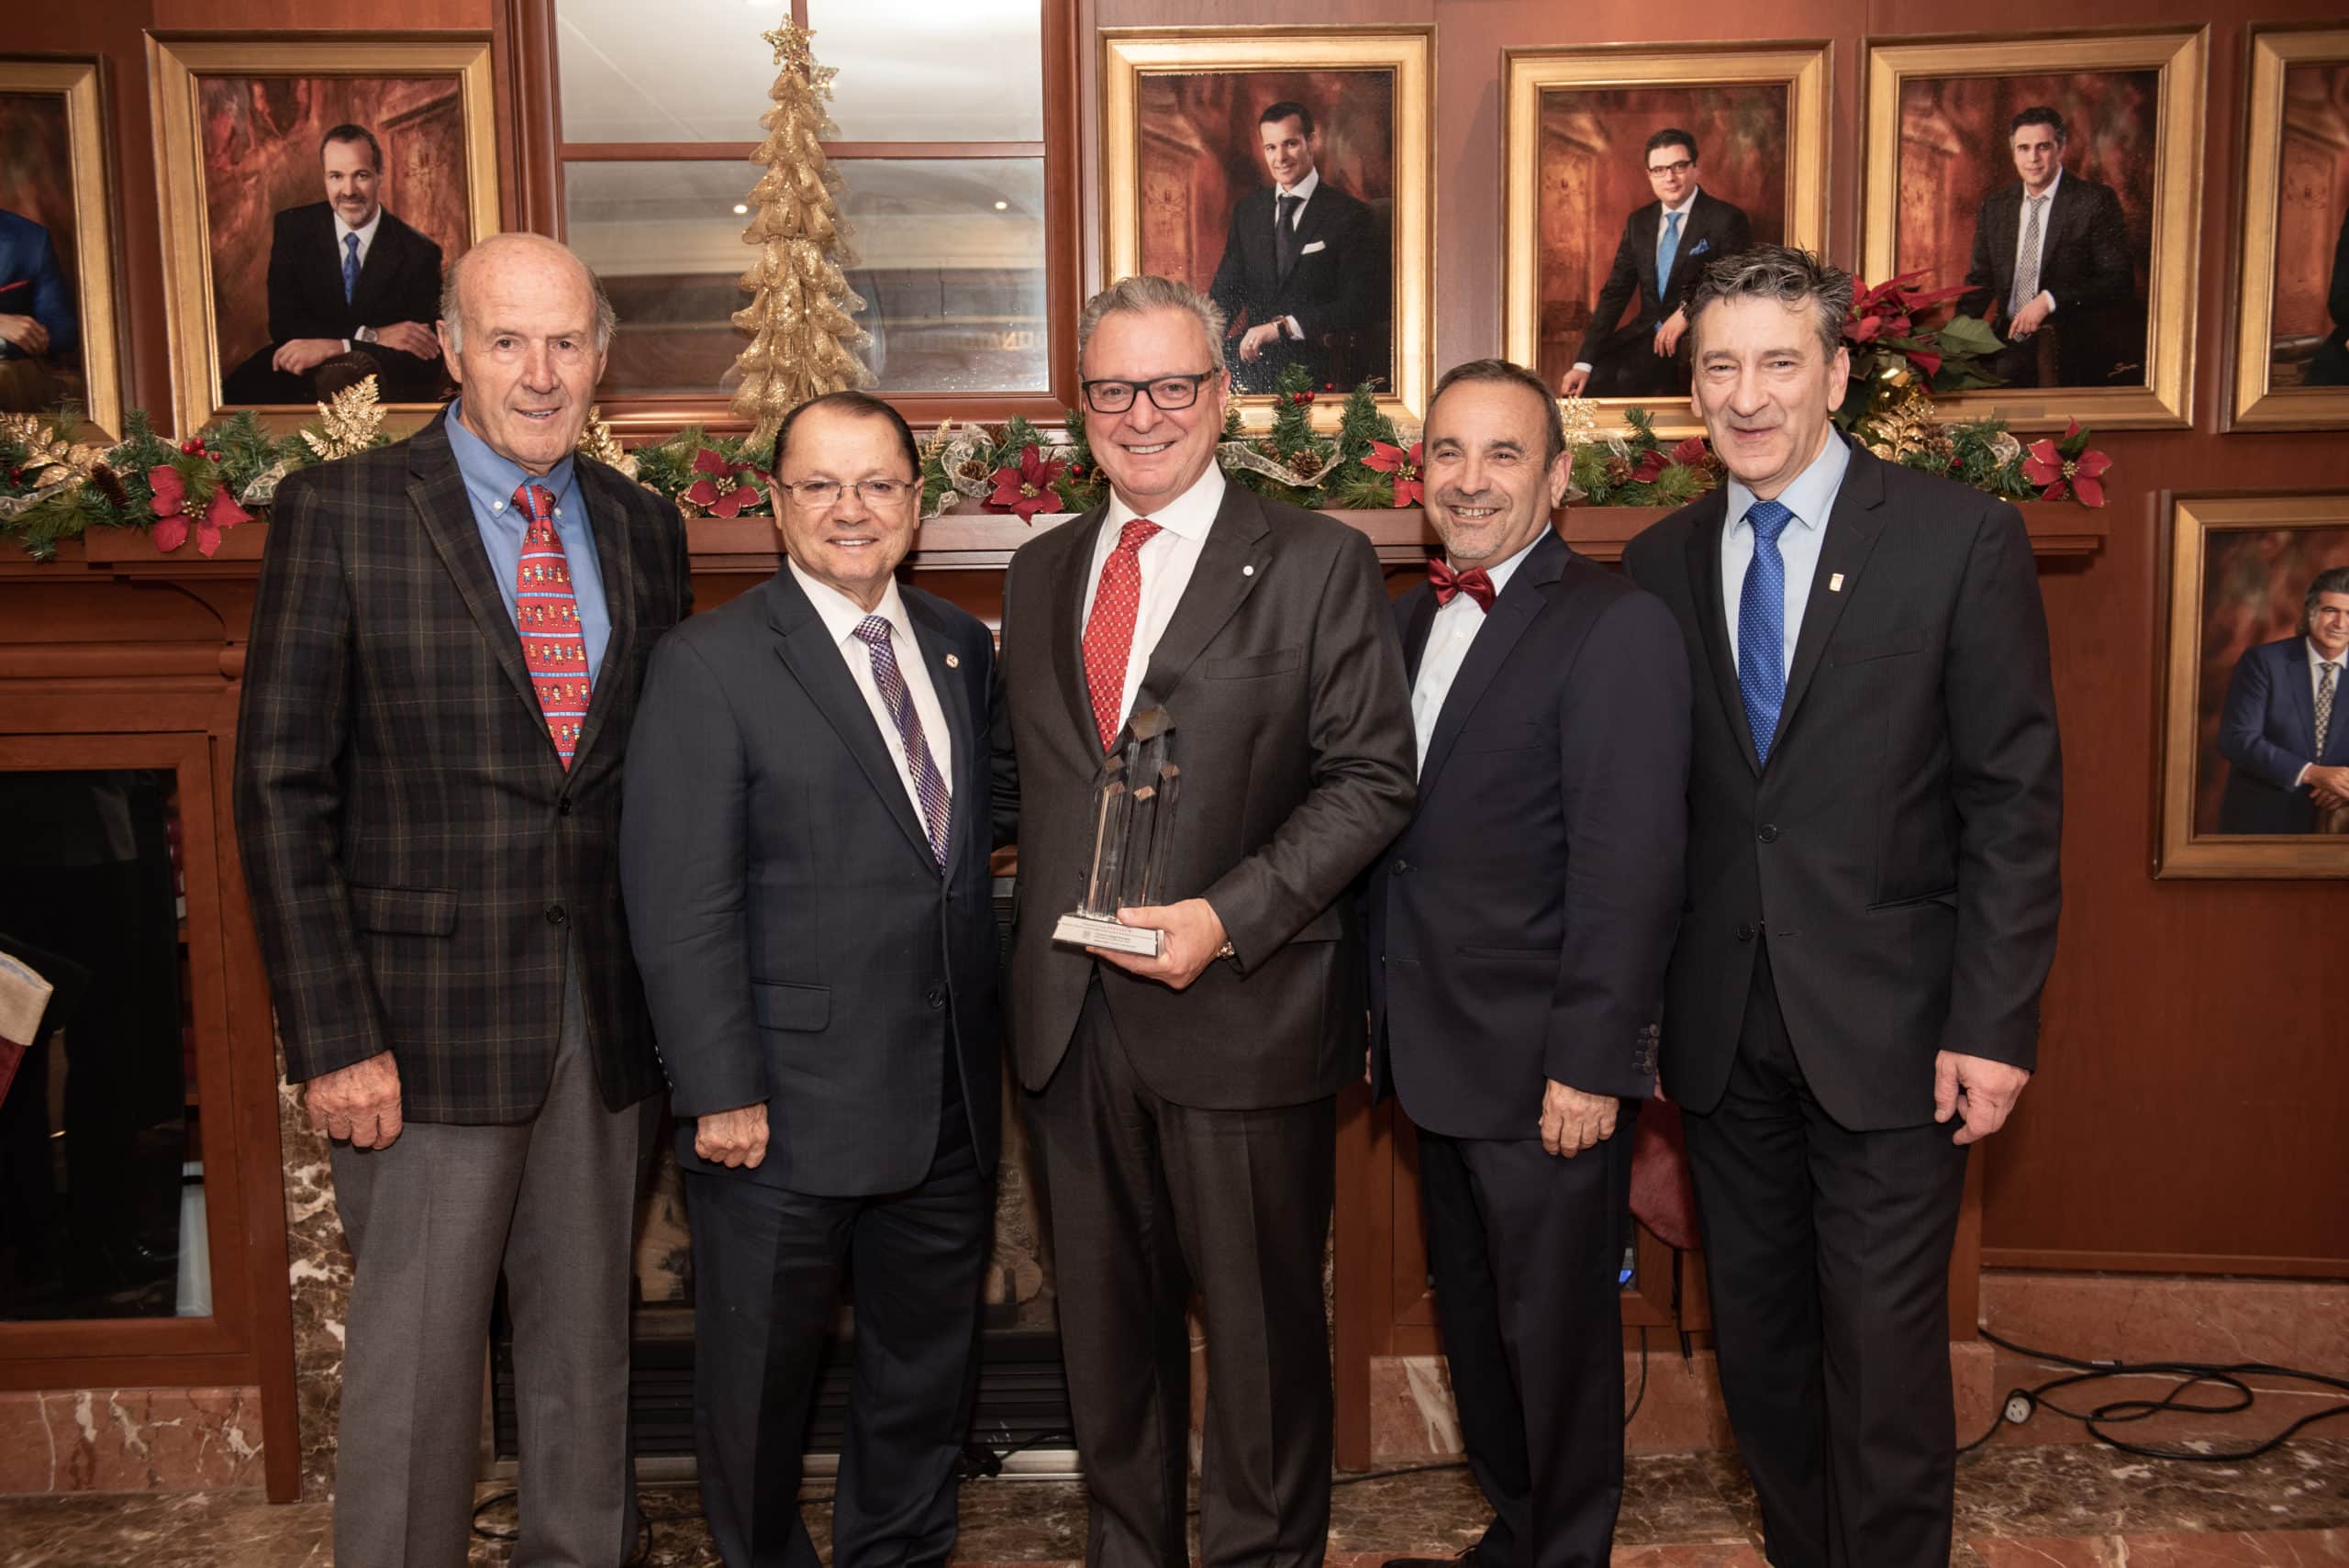
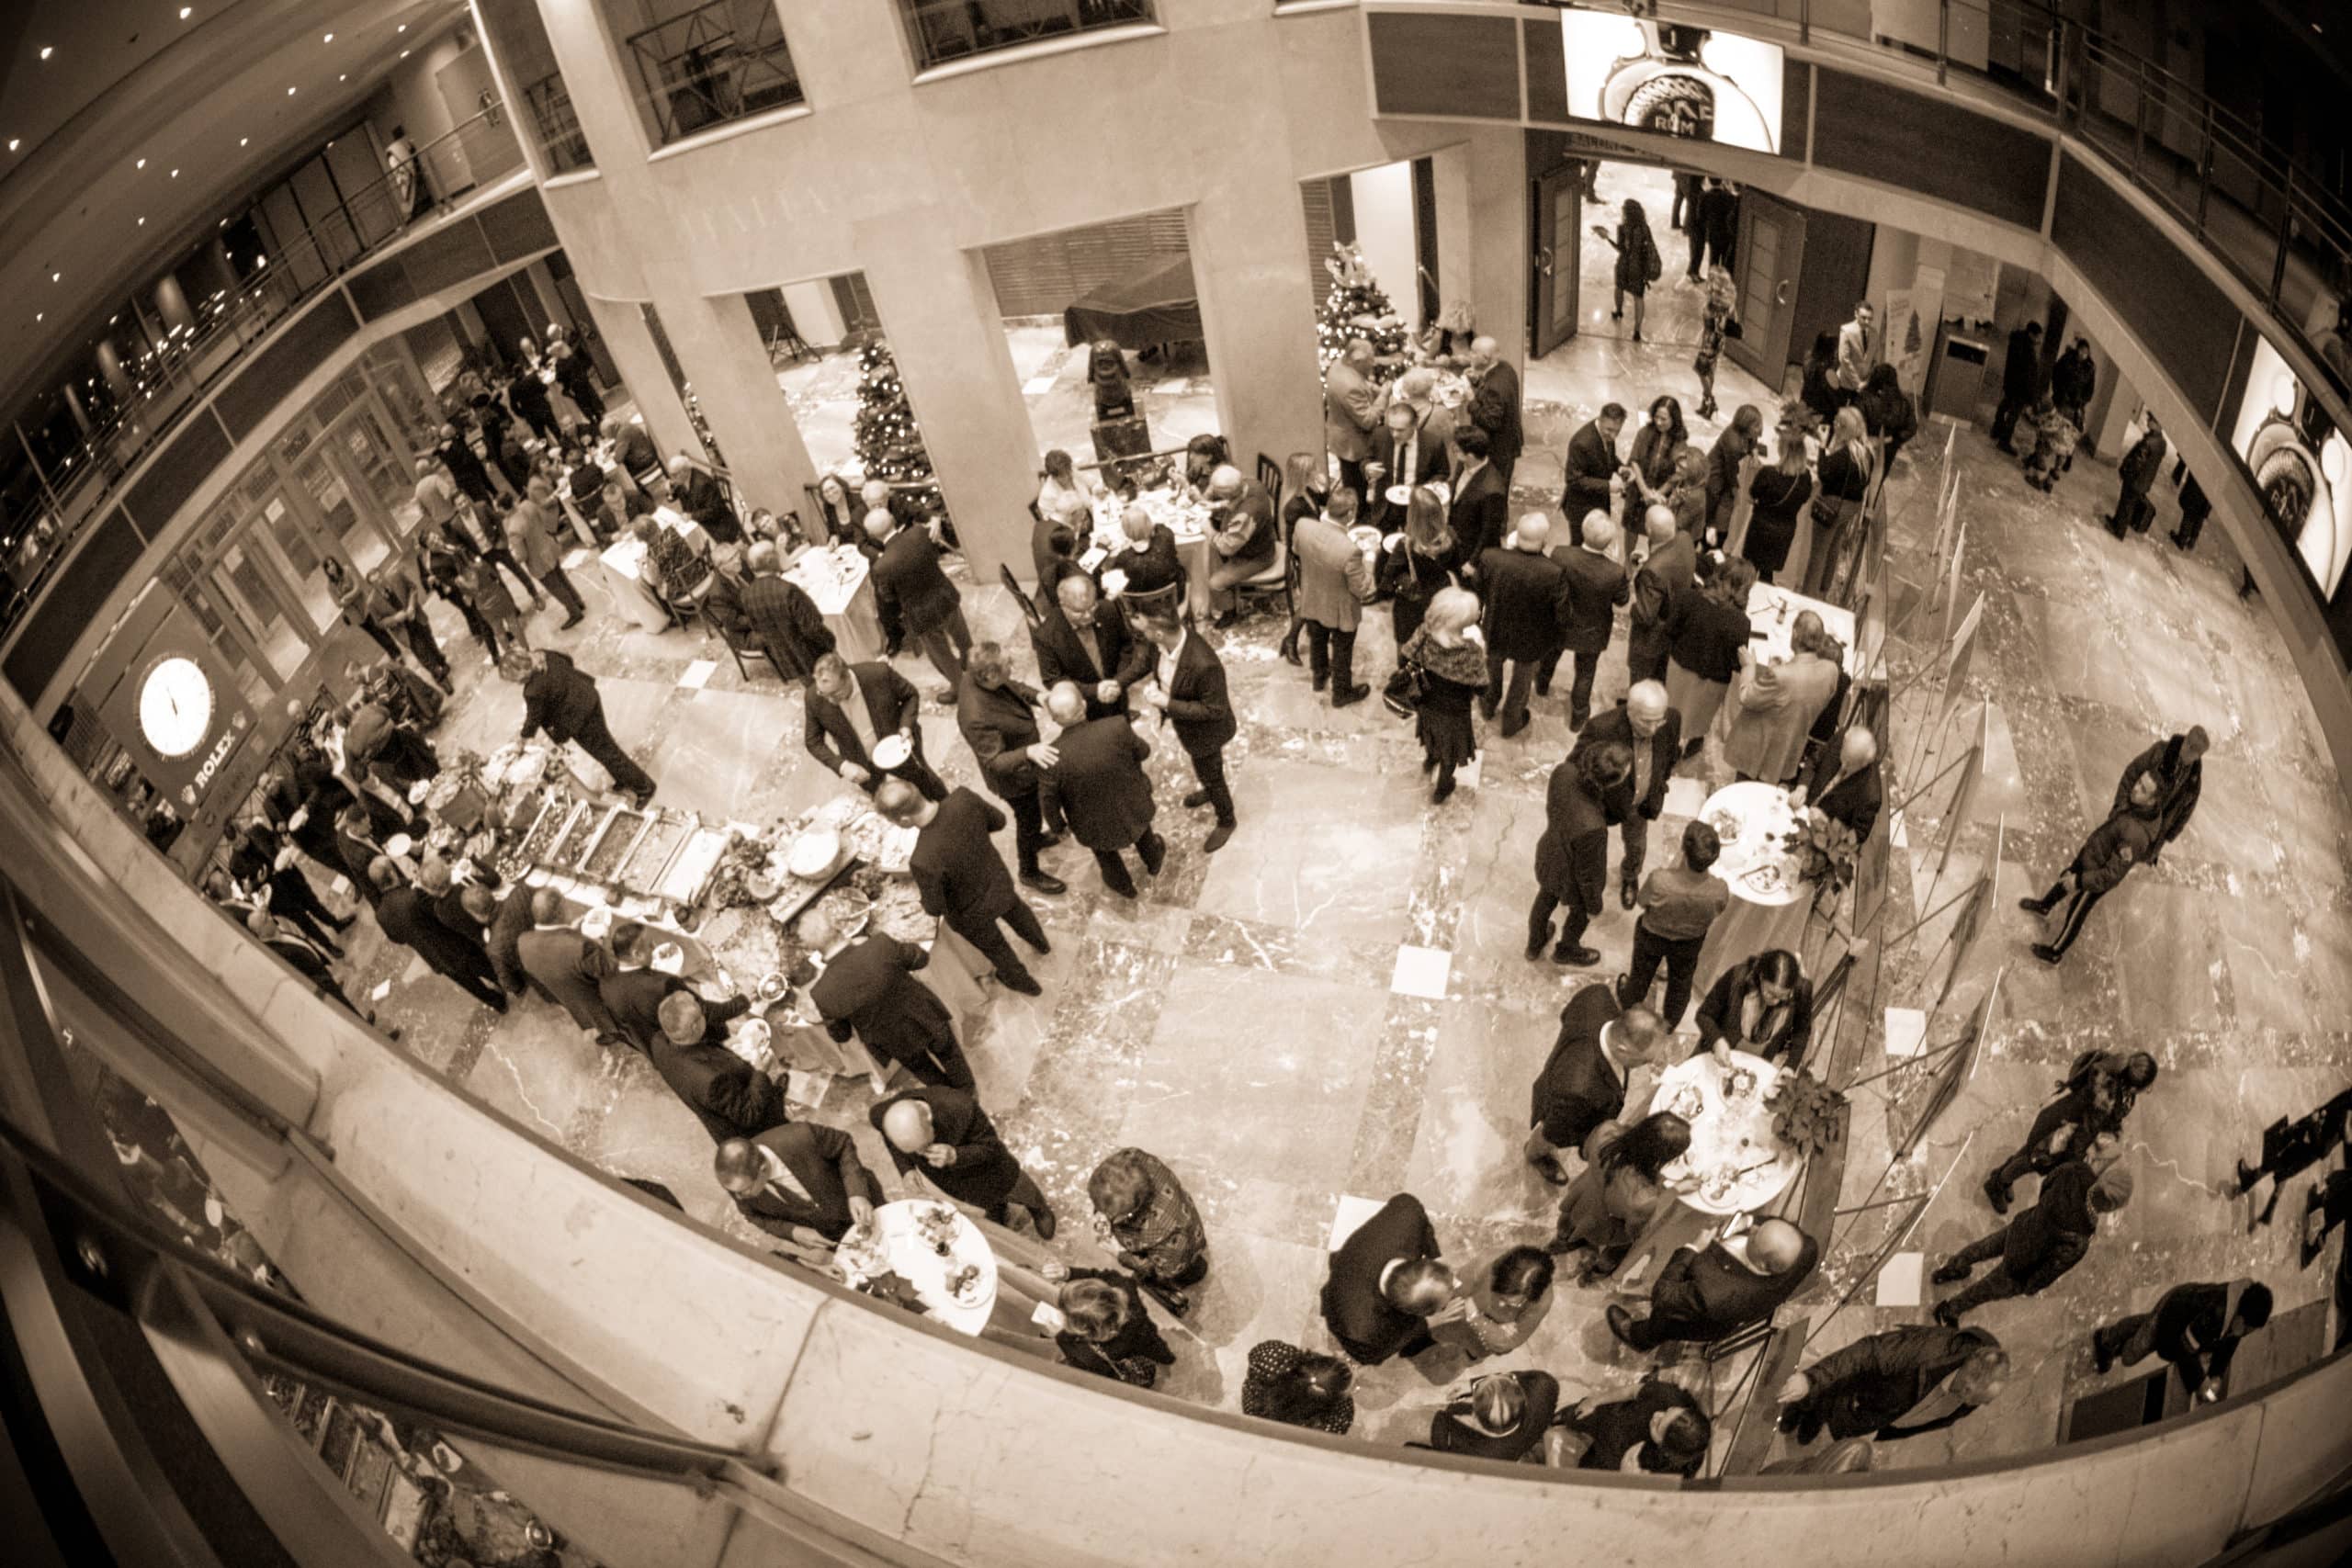
Fundraising through events is vital in contributing to the success of our Foundation. These events unite, engage and support the Italian-Canadian community at large.
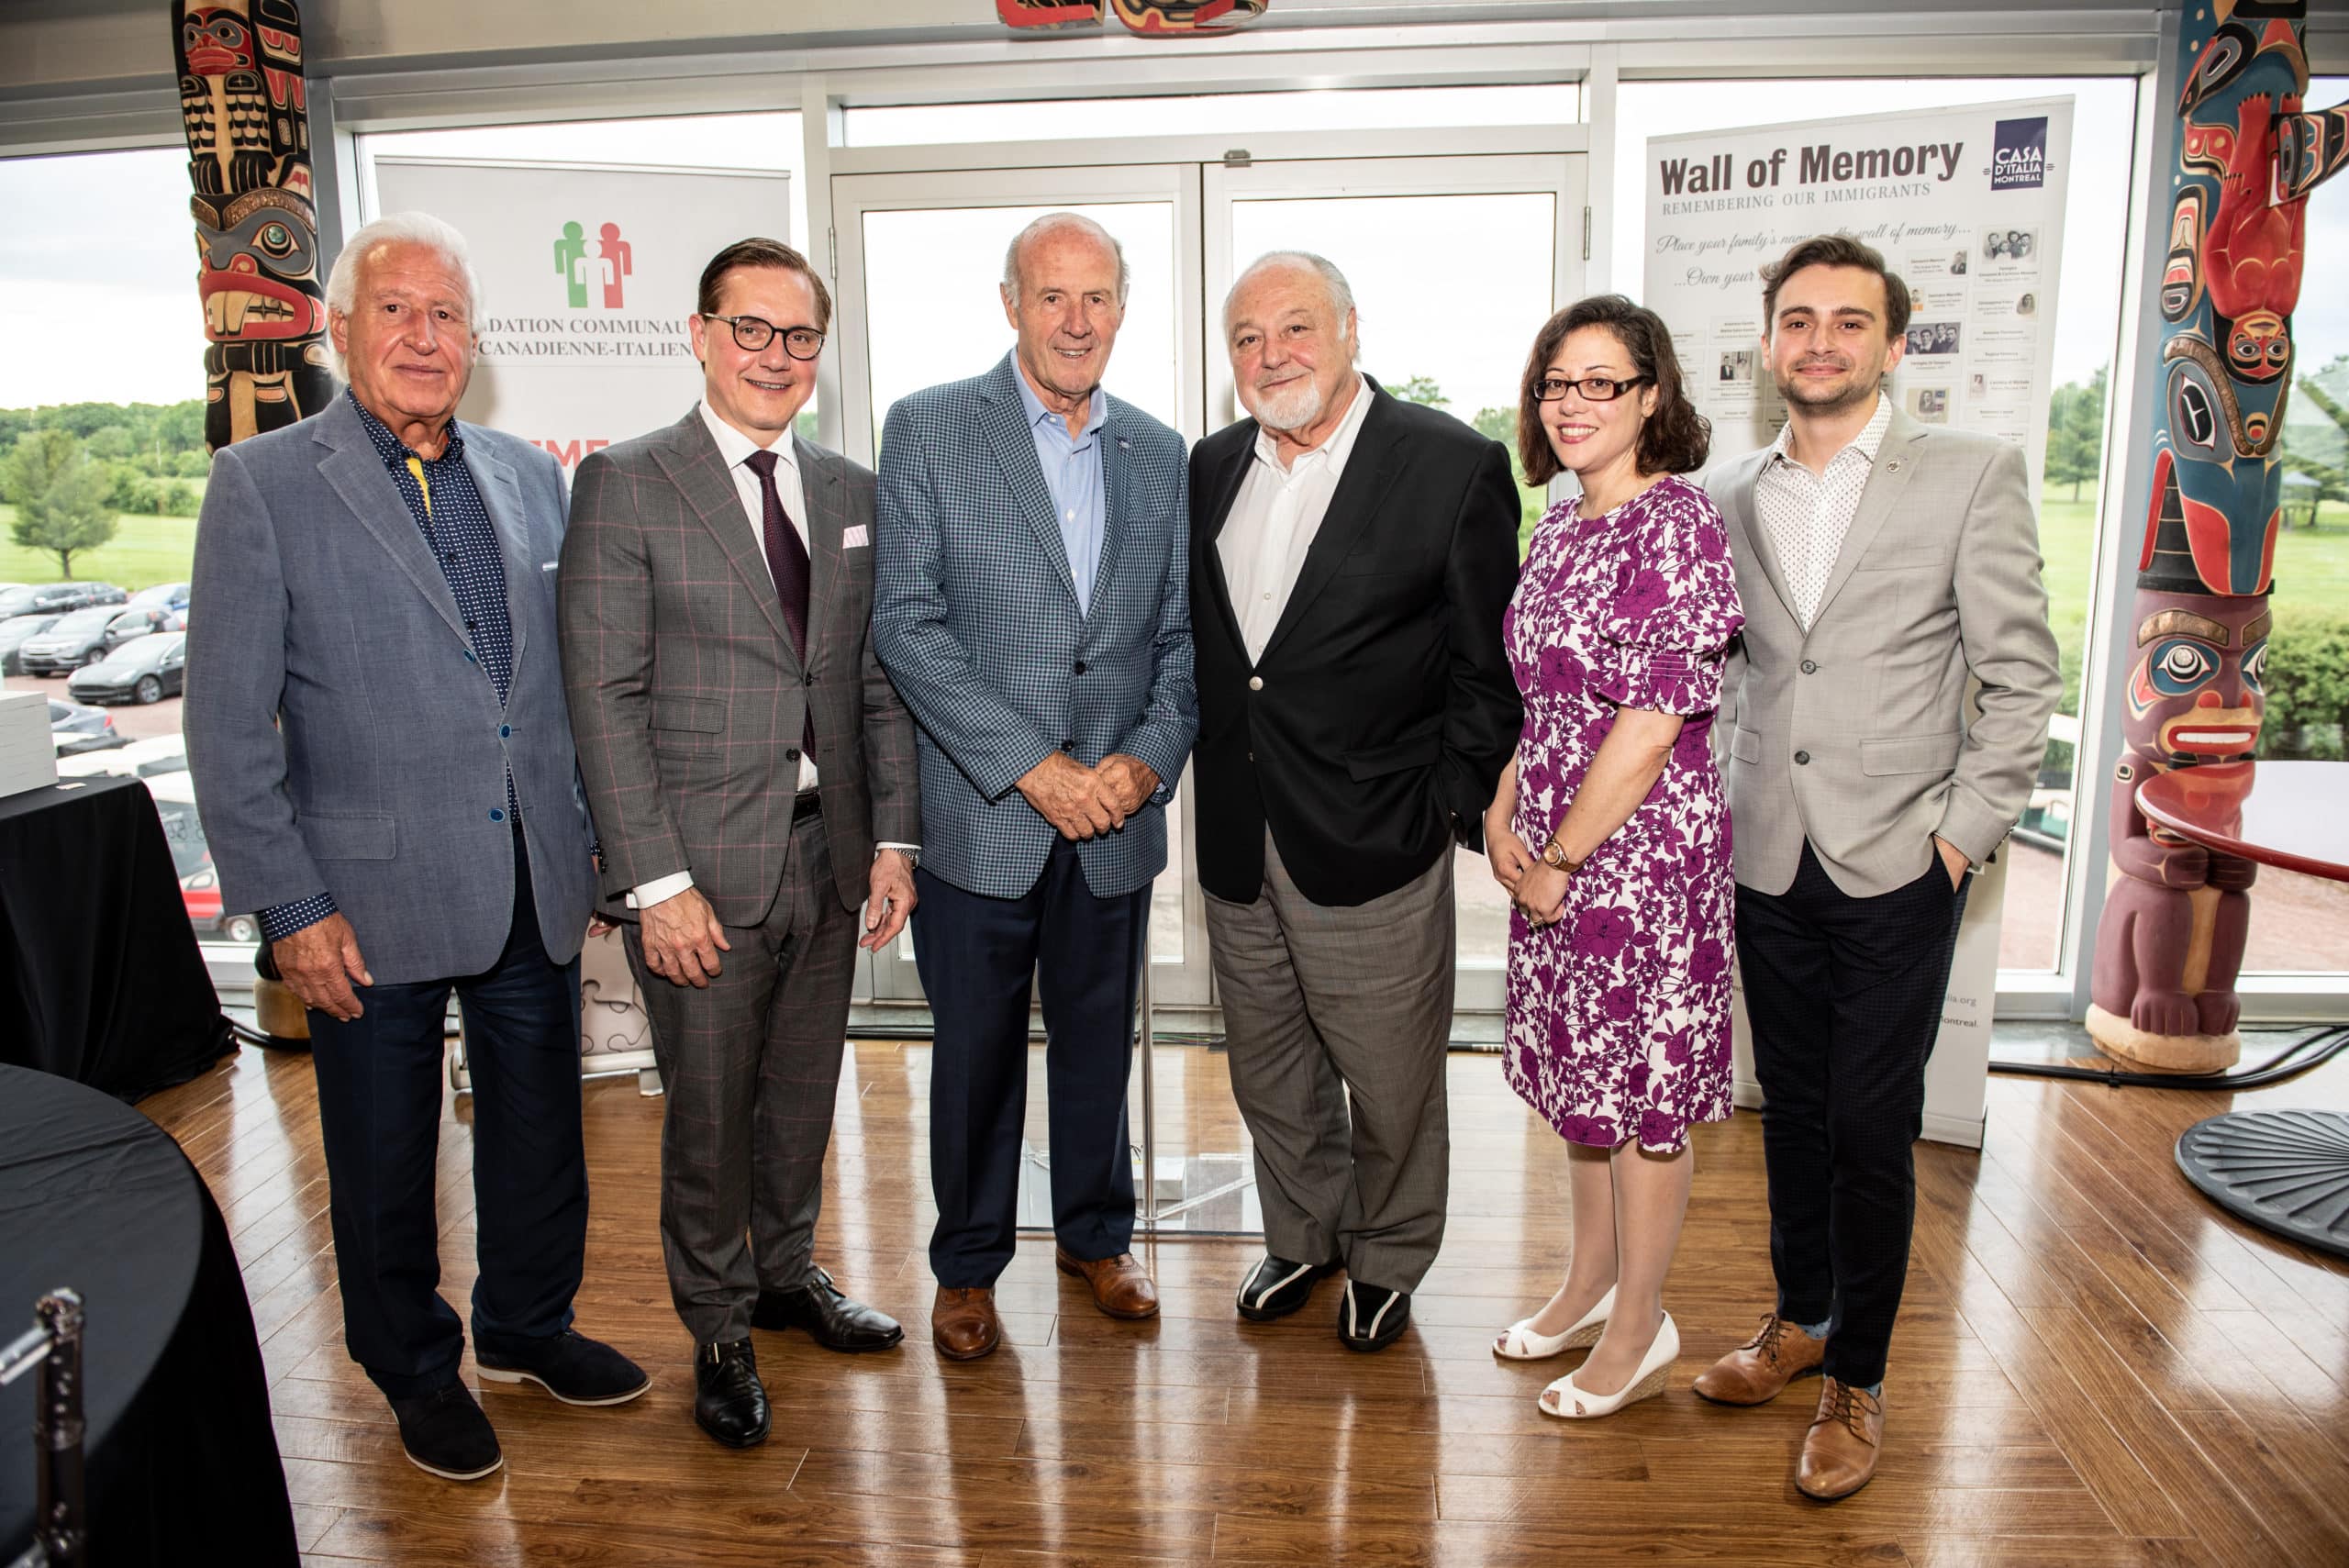
Philanthropy is defined both as an act of giving and as a love of humankind. The Foundation is committed to improving the community in which we live and work by focusing on the four sectors of Health, Italian Language, Youth & Seniors, and Culture & Heritage.